Tomato Planting Guide
If you are dreaming of sun-warmed, juicy fruit straight from the vine, mastering a Tomato Planting Guide is the most essential skill any home gardener can develop. Tomatoes are the crown jewel of the summer garden, but a comprehensive Tomato Planting Guide reveals that success depends on more than just burying a seedling in the dirt. By following a structured Tomato Planting Guide, you can navigate the complexities of soil temperature, structural support, and nutrient balance to ensure your plants are loaded with fruit from early July until the first frost of autumn.
This Tomato Planting Guide will help you understand the critical difference between “determinate” (bush) and “indeterminate” (vining) varieties, a choice that every Tomato Planting Guide identifies as the first step toward a manageable garden. Furthermore, a high-quality Tomato Planting Guide emphasizes the importance of deep planting; unlike most vegetables, this Tomato Planting Guide recommends burying two-thirds of the stem to provoke massive root growth. Whether you are working with a sprawling backyard plot or a few sunny patio containers, this Tomato Planting Guide provides the expert roadmap needed to grow healthy, disease-resistant plants.
Beyond the basics of water and sunlight, a detailed Tomato Planting Guide offers advanced insights into pruning and organic pest control. Every reliable Tomato Planting Guide serves as a shield against common issues like blossom end rot or early blight, which can ruin a harvest if not addressed early. By the time you finish this Tomato Planting Guide, you will have the confidence and technical knowledge to turn a single packet of seeds into a bounty of flavorful, vine-ripened tomatoes that far surpass anything available in a store.
Types of Tomato Plants
The first step in learning how to grow tomatoes is understanding the different types. Each variety grows differently and suits different needs, so picking the right one sets you up for success from the start. now in this Tomato Planting Guide we will discuss the types of tomato.
Determinate Tomatoes
Determinate tomatoes, also called “bush” tomatoes, grow to a fixed height — usually around 3 to 4 feet — and then stop. All their fruit tends to ripen around the same time, usually within a 2 to 3 week window. This makes them a great choice if you want a large harvest all at once for canning, sauces, or freezing.
Popular determinate varieties include Roma, Celebrity, and Rutgers. These plants need less staking and work well in smaller spaces and containers.
Indeterminate Tomatoes
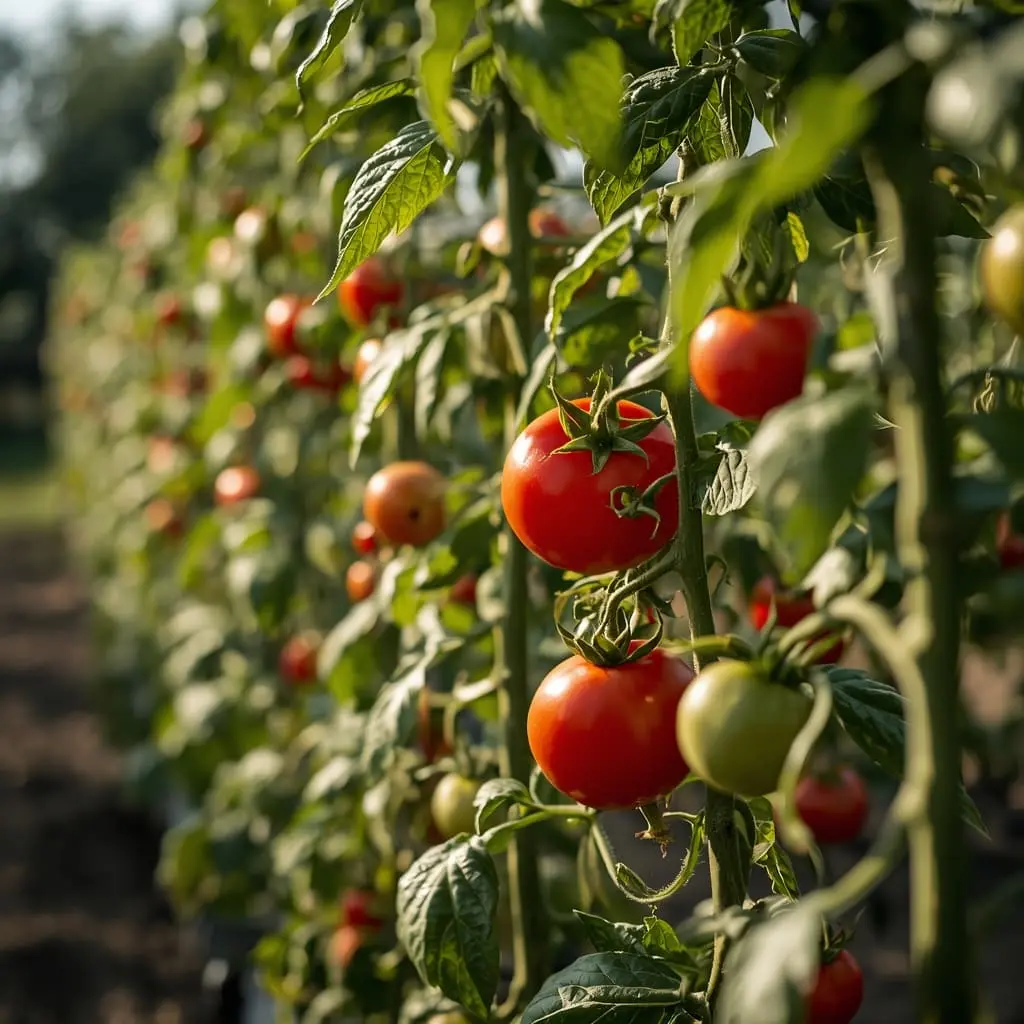
Indeterminate tomatoes keep growing and producing fruit all season long until frost kills them. They can grow very tall — sometimes 6 feet or more — and need strong support like cages or stakes. The upside is that you get a steady supply of fresh tomatoes from summer through fall.
Popular indeterminate varieties include Beefsteak, Big Boy, and most cherry tomato types. If you want tomatoes to eat fresh over a long season, indeterminate varieties are usually the better pick.
Cherry and Grape Tomatoes
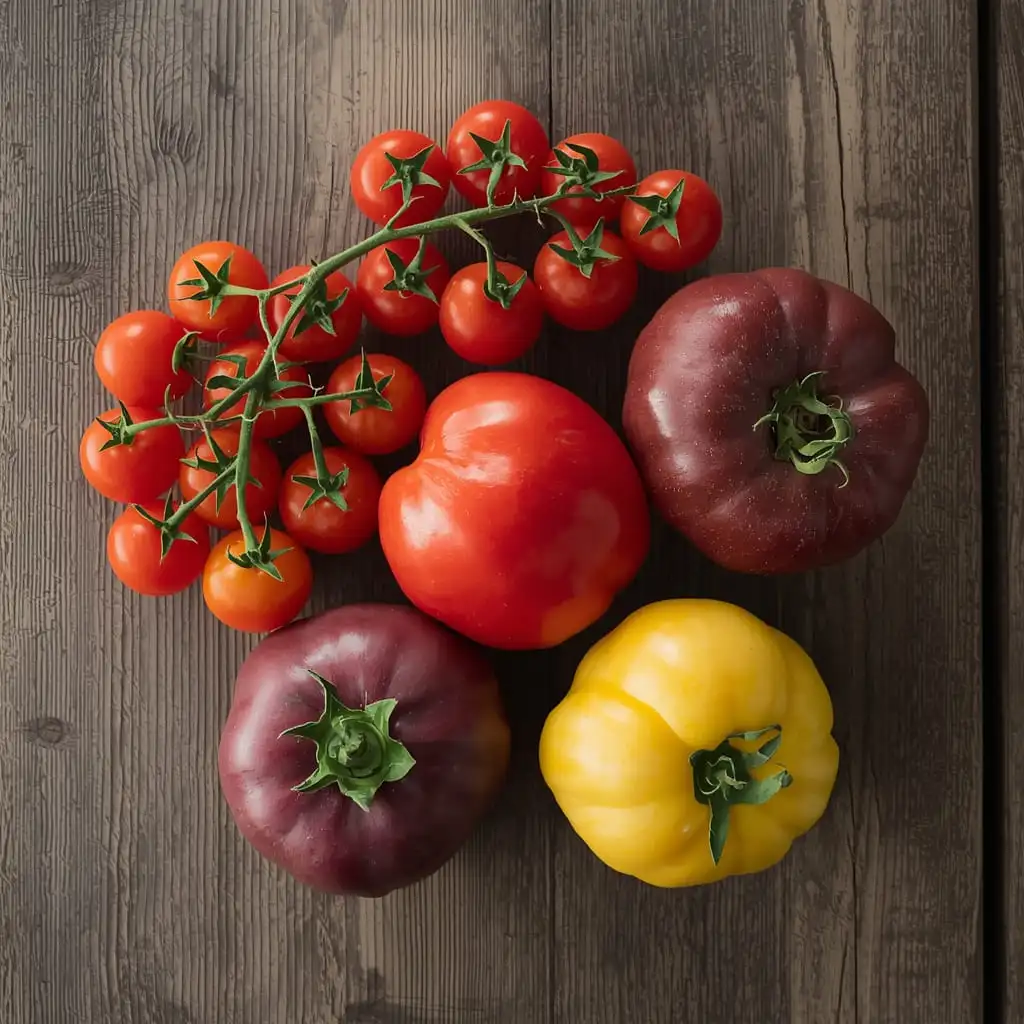
Cherry and grape tomatoes are small, sweet, and incredibly prolific. They produce hundreds of small fruits per plant throughout the season. They are great for salads, snacking, and roasting. These types are also more forgiving than larger tomatoes — they are less prone to cracking and handle inconsistent watering better.
Popular picks include Sweet 100, Sun Gold, and Black Cherry. They grow fast, fruit early, and are an excellent starting point for first-time tomato growers.
Heirloom Varieties
Heirloom tomatoes are older, open-pollinated varieties that have been passed down for generations. They come in an amazing range of shapes, sizes, and colors — from deep purple to bright yellow to striped green. The flavor is often richer and more complex than modern hybrids.
The trade-off is that heirlooms can be more sensitive to disease and pests. They also tend to have a shorter shelf life after harvest. But for flavor lovers and garden enthusiasts, they are absolutely worth growing. Popular heirloom varieties include Brandywine, Cherokee Purple, and Mortgage Lifter.
Best Time to Plant Tomatoes
Timing is everything with tomatoes. Plant too early and a late frost can wipe out your seedlings. Plant too late and your plants may not have enough warm weather to produce a full crop. now in this Tomato Planting Guide we will discuss the best time for tomato planting.
Seasons
The best time to plant tomatoes outdoors is in late spring, after the last frost date in your area has passed. In most parts of the United States, this falls between late April and early June depending on your region. In warmer climates, you may be able to plant as early as March.
If you want to get a head start, you can start seeds indoors 6 to 8 weeks before your last expected frost date. This gives you strong seedlings ready to go outside as soon as the weather is right.
Temperature Needs
Tomatoes are warm-weather plants. They need soil temperatures of at least 60°F (15°C) to grow well, and air temperatures between 65°F and 85°F (18°C to 29°C) are ideal for fruit production. When temperatures drop below 55°F (13°C) at night, growth slows down noticeably. When temperatures climb above 95°F (35°C), flowers may drop and fruit may fail to set.
Frost Considerations
Tomatoes are very sensitive to frost. Even a light frost can damage or kill young plants. Always check your local last frost date before transplanting seedlings outside. A good rule of thumb is to wait until nighttime temperatures stay consistently above 50°F (10°C) before moving plants outdoors. If an unexpected late frost is forecast, cover your plants with a frost cloth or bring containers indoors overnight.
Choosing the Right Location
Tomatoes are sun-loving plants, and the location you choose has a big impact on how well they grow and how much fruit they produce.
Sunlight Requirements
Tomatoes need at least 6 to 8 hours of direct sunlight per day. More is better. A south-facing spot in your garden is usually ideal in the Northern Hemisphere. Avoid spots that are shaded by buildings, fences, or large trees for most of the day. Without enough sun, plants will grow tall and leggy, produce fewer flowers, and take much longer to ripen fruit.
Space Needs
Tomato plants need room to spread out. Most standard varieties need at least 2 to 3 feet of space between plants. Larger indeterminate varieties may need up to 4 feet. Crowding plants together leads to poor air circulation, which increases the risk of disease and makes it harder for pollinators to reach the flowers.
If space is tight, compact determinate varieties or cherry tomatoes in containers are a smart workaround.
Free Garden Calculators for Accurate Planting & Harvest Planning
Air Circulation
Good airflow around your tomato plants helps prevent fungal diseases like blight and mildew. Plant in rows rather than clusters, prune lower leaves to improve airflow at the base, and avoid planting near dense hedges or walls that block the breeze. A little space between plants goes a long way toward keeping them healthy all season.
Soil Preparation for Tomatoes
Tomatoes are heavy feeders — they pull a lot of nutrients from the soil. Taking time to prepare your soil properly before planting makes a massive difference in how healthy and productive your plants will be.
Ideal Soil Type
Tomatoes grow best in loose, well-draining, nutrient-rich soil. Heavy clay soil holds too much water and can suffocate roots. Sandy soil drains too fast and does not hold enough nutrients. Loamy soil — a mix of sand, silt, and clay — is the ideal texture. If your soil is too heavy or too sandy, adding compost will improve it significantly.
Work the soil to a depth of at least 12 inches before planting. Tomato roots go deep, and loose soil lets them spread and access water and nutrients more easily.
Compost and Organic Matter
Adding compost is one of the best investments you can make for your tomato garden. Mix 2 to 4 inches of compost into the top layer of soil before planting. Compost improves soil structure, adds beneficial microorganisms, and provides a slow release of nutrients throughout the growing season.
You can also add well-rotted manure, worm castings, or a balanced granular fertilizer at planting time to give your tomatoes a strong start. Avoid fresh manure — it can burn roots and introduce harmful bacteria.
Soil pH
Tomatoes prefer a soil pH between 6.0 and 6.8 — slightly acidic. A pH in this range helps plants absorb nutrients efficiently. If your soil is too acidic (below 6.0), add garden lime to raise the pH. If it is too alkaline (above 7.0), add sulfur or peat moss to lower it. You can test your soil pH with an inexpensive test kit from a garden store.
How to Plant Tomato Seeds
Starting tomatoes from seed gives you access to a much wider range of varieties than what you find as seedlings at a nursery. It also saves money if you plan to grow several plants.
Starting Seeds Indoors
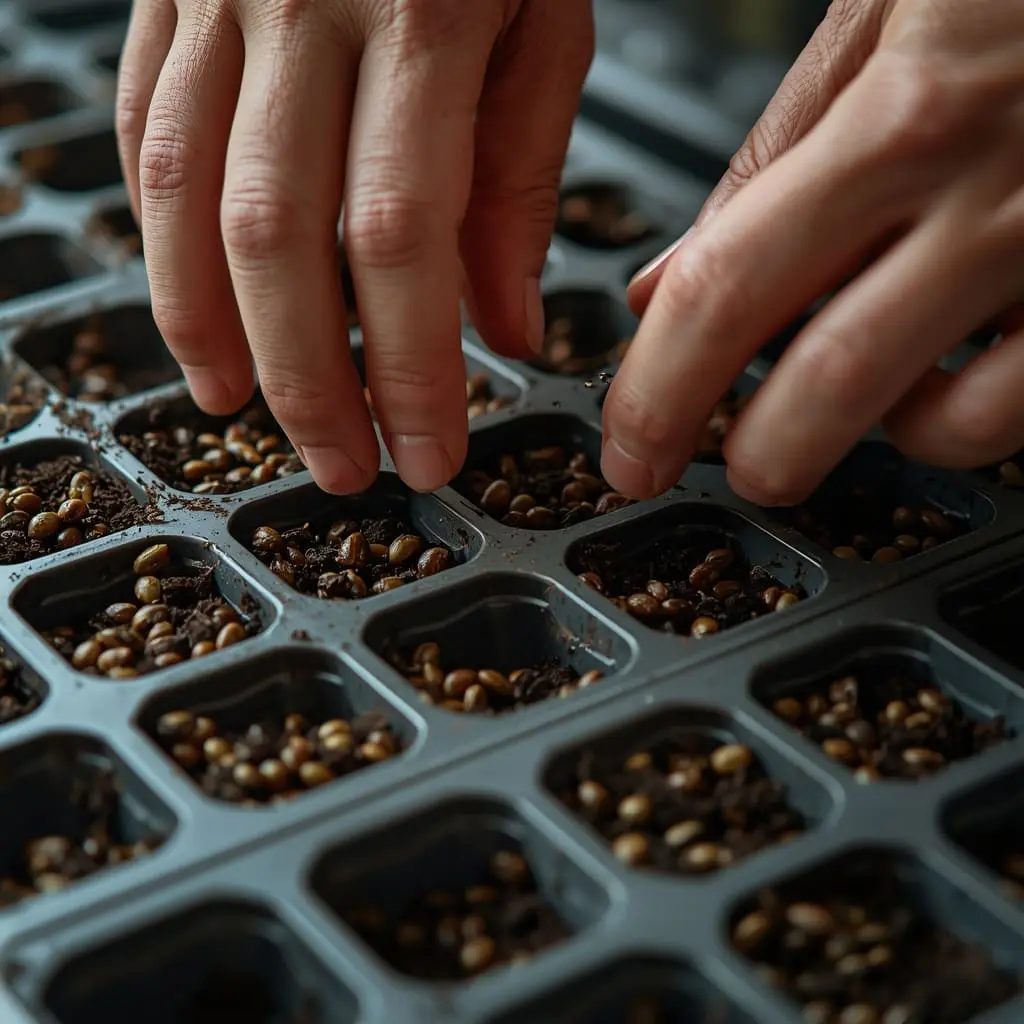
Start tomato seeds indoors 6 to 8 weeks before your last frost date. Use small seed trays or pots filled with a quality seed-starting mix — not regular garden soil, which is too heavy and may carry diseases. Moisten the mix before filling the trays so it is damp but not soggy.
Place trays in a warm location. Tomato seeds germinate best at temperatures between 70°F and 80°F (21°C to 27°C). A heat mat placed under the trays can speed up germination noticeably. Once seedlings emerge, move them to a bright sunny window or under a grow light.
Seed Depth and Spacing
Plant tomato seeds about ¼ inch deep — just barely covered with soil. Place 2 seeds per cell or small pot. Once both sprouts appear, snip the weaker one at the soil line so the stronger seedling has room to grow. Do not pull out the weaker seedling — pulling can disturb the roots of the one you want to keep.
Germination Tips
- Keep the soil consistently moist but never waterlogged
- Cover trays with a plastic dome or wrap to hold in moisture until sprouts appear
- Seeds usually germinate in 5 to 10 days under warm conditions
- Once seedlings sprout, remove the cover and give them as much light as possible
- Thin to one seedling per cell once the first set of true leaves appears
- Begin “bottom watering” (filling a tray with water and letting pots absorb it) to encourage deep root growth
Transplanting Tomato Seedlings Outdoors
Moving your seedlings from indoors to the garden is an exciting step — but doing it right makes a big difference in how well they adjust.
Hardening Off Process
Before transplanting tomatoes outside permanently, you need to “harden them off.” This means gradually introducing them to outdoor conditions over 7 to 10 days. Indoor-grown seedlings are not used to wind, direct sun, or cooler temperatures, and moving them outside too quickly can shock or damage them.
Here is a simple hardening off schedule:
- Day 1–2: Place plants outside in a shaded, sheltered spot for 1 to 2 hours, then bring them back inside
- Day 3–4: Move to a spot with morning sun for 3 to 4 hours
- Day 5–6: Increase to 5 to 6 hours with more direct sun
- Day 7–8: Leave outside most of the day, bring in at night
- Day 9–10: Leave outside all day and overnight if temperatures stay above 50°F
After this process, your seedlings are ready to be planted in the ground.
Plant Spacing
Space tomato transplants 24 to 36 inches apart for most standard varieties. Indeterminate varieties that grow large may need up to 48 inches. Rows should be about 3 to 4 feet apart to allow easy access and good airflow. Proper spacing reduces disease risk and makes sure each plant gets enough light and nutrients.
Planting Depth
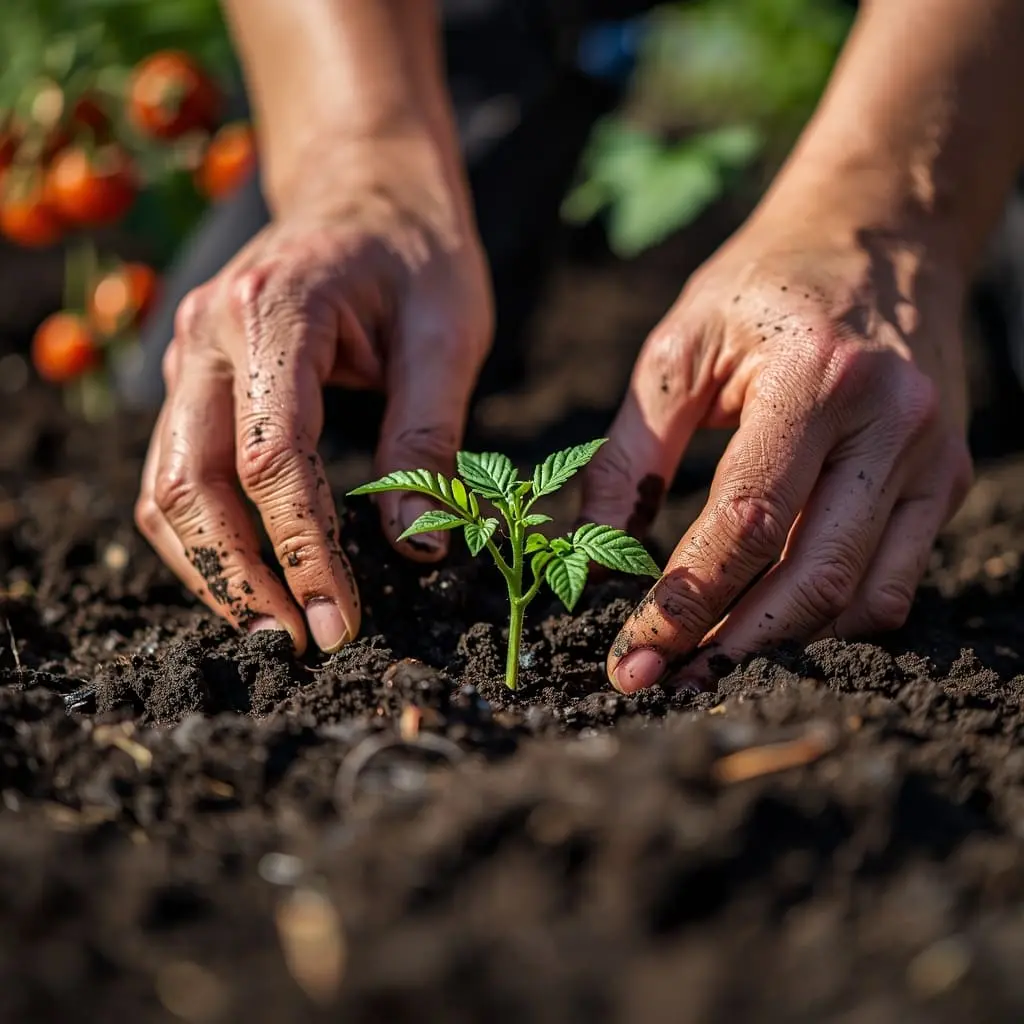
Here is one of the best tomato growing tips you will ever hear — plant your tomatoes deep. Unlike most plants, tomatoes can form roots all along their buried stem. Planting deeply creates a stronger, more extensive root system that helps the plant absorb more water and nutrients.
Dig a hole deep enough to bury the plant up to its lowest set of leaves. Remove any leaves that would be underground and plant the seedling at that depth. For tall, leggy seedlings, you can even dig a shallow trench and lay the stem sideways — it will straighten up toward the sun within a few days.
Growing Tomatoes in Containers
You do not need a big garden to grow tomatoes. Containers work great, especially for smaller varieties. The key is choosing the right pot and giving the plant what it needs.
Use a container that holds at least 5 gallons for cherry and smaller tomato types, and 10 to 15 gallons for larger varieties like beefsteak. The bigger the pot, the better — more soil means more room for roots and more water retention.
Use a high-quality potting mix, not garden soil. Add slow-release fertilizer pellets to the mix at planting time. Container tomatoes need more frequent watering than garden plants because pots dry out faster — check the soil daily and water whenever the top inch feels dry.
Place containers in the sunniest spot you have. A wheeled plant caddy is useful so you can move pots to follow the sun or bring them indoors when frost is forecast. Make sure every container has drainage holes at the bottom.
Watering Guide for Tomato Plants
Consistent watering is one of the most important parts of growing healthy tomatoes. Irregular watering — too much one day and too little the next — is a leading cause of problems like blossom end rot and fruit cracking.
Tomato plants need about 1 to 2 inches of water per week. During hot, dry weather, this may need to increase. The goal is to keep the soil evenly moist — not soggy, not bone dry.
Water deeply and less frequently rather than a little bit every day. Deep watering encourages roots to grow downward, which makes plants more drought-tolerant. Shallow daily watering keeps roots near the surface where they are more vulnerable to heat and dryness.
The best time to water is in the morning. This lets any moisture on the leaves evaporate during the day, reducing the chance of fungal disease. Avoid watering late in the evening. Always water at the base of the plant, not over the leaves.
Mulching around plants with straw, wood chips, or shredded leaves helps hold moisture in the soil, keeps roots cool, and reduces how often you need to water.
Fertilizing Tips for Healthy Growth
Tomatoes are hungry plants and need regular feeding throughout the growing season to stay productive.
At planting time, mix a balanced fertilizer or compost into the soil. About 2 weeks after transplanting, begin a regular fertilizing schedule. Use a fertilizer higher in phosphorus and potassium once flowers appear — too much nitrogen at this stage encourages leafy growth at the expense of fruit.
A simple approach many gardeners follow:
- Early growth stage: Use a balanced fertilizer (10-10-10) every 2 weeks
- Flowering and fruiting stage: Switch to a tomato-specific fertilizer higher in phosphorus and potassium (like 5-10-10)
- Mid to late season: Feed every 3 to 4 weeks to keep plants producing
Organic options like fish emulsion, compost tea, and bone meal work well and feed the soil as well as the plant. Always water your plants before and after applying fertilizer to avoid root burn.
Supporting Tomato Plants
Most tomato plants need some form of support to keep them upright, improve airflow, and prevent fruit from sitting on the ground where it can rot or attract pests.
Staking
Staking is one of the simplest support methods. Push a wooden or metal stake into the ground near the plant at planting time — about 6 inches away from the stem. As the plant grows, tie the main stem loosely to the stake using soft garden ties or strips of cloth. Avoid tying too tightly, which can cut into the stem as the plant grows.
Stakes work best for determinate varieties and smaller indeterminate types.
Caging
Tomato cages are circular wire supports that surround the plant and hold branches upright as it grows. They are easy to use — just press them into the ground around the young plant and let the tomato grow up through the rings. Cages work very well for bushy determinate varieties and medium-sized indeterminate types.
Buy heavy-duty cages rather than the cheap, flimsy ones sold at most garden centers. Large indeterminate varieties can become very heavy and will knock over a weak cage mid-season.
Trellising
Trellising involves running horizontal wires or strings between two posts and weaving or tying plant stems to the support as they grow. This method is popular for indeterminate varieties in larger gardens and is excellent for airflow and easy harvesting.
The “Florida weave” is a simple trellising method where twine is run back and forth between stakes on either side of the plant row, sandwiching the stems as they grow. It is quick to set up and works well for multiple plants in a row.
Common Problems and Solutions
Even well-cared-for tomato plants can run into trouble. Here is what to watch for and how to fix it.
Pests
- Tomato hornworms – Large green caterpillars that can strip a plant fast. Handpick them or use Bt spray.
- Aphids – Tiny soft-bodied insects on new growth and undersides of leaves. Blast off with water or use insecticidal soap.
- Whiteflies – Small white flying insects that weaken plants. Yellow sticky traps help, as does neem oil spray.
- Cutworms – Chew through stems at soil level. Place a cardboard collar around the stem base at planting.
Diseases
- Early blight – Brown spots with yellow rings on lower leaves. Remove affected leaves and apply a copper-based fungicide.
- Late blight – Dark, water-soaked patches on leaves and fruit. Remove infected parts immediately and treat with fungicide. This disease spreads fast.
- Fusarium and verticillium wilt – Yellowing and wilting despite good watering. Caused by soil-borne fungi. Plant resistant varieties and rotate crops each year.
- Powdery mildew – White powdery coating on leaves. Improve airflow and treat with a baking soda spray or neem oil.
Yellow Leaves
Yellow leaves are one of the most common concerns for tomato growers. The cause depends on which leaves are affected. Yellow lower leaves are often a sign of normal aging or nitrogen deficiency. Yellow leaves higher up may indicate a disease, overwatering, or magnesium deficiency. A dose of Epsom salt dissolved in water (1 tablespoon per gallon) can help with magnesium issues.
Blossom End Rot
Blossom end rot shows up as a dark, sunken, leathery patch on the bottom of the fruit. It is caused by calcium deficiency, which is usually the result of inconsistent watering rather than a lack of calcium in the soil. When watering is irregular, plants cannot absorb calcium properly even when it is present.
The fix is simple — water more consistently and mulch to keep moisture even. Avoid over-fertilizing with nitrogen, which can interfere with calcium uptake. Calcium sprays are available as a quick fix but addressing the watering issue is the real solution.
When and How to Harvest Tomatoes
Harvesting at the right time gives you tomatoes at peak flavor and texture. The good news is that tomatoes give you plenty of visual cues when they are ready.
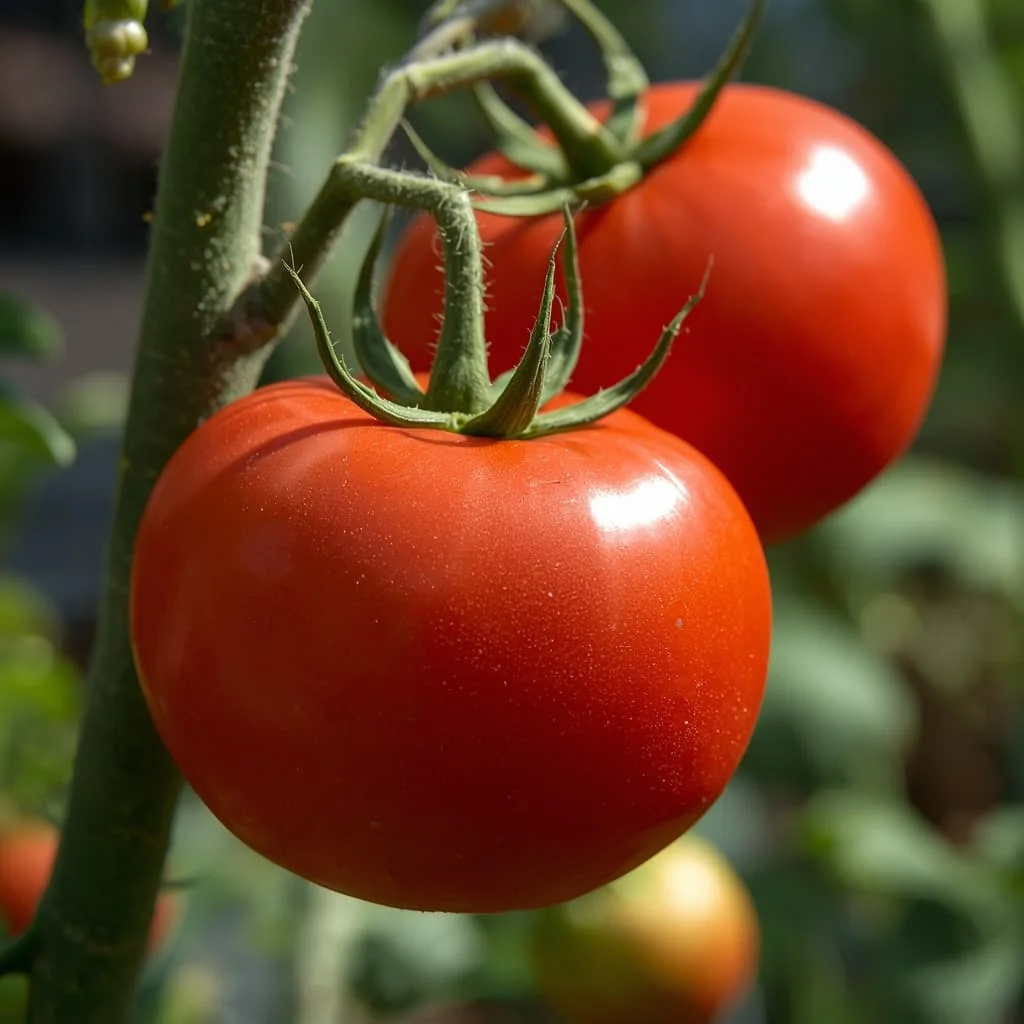
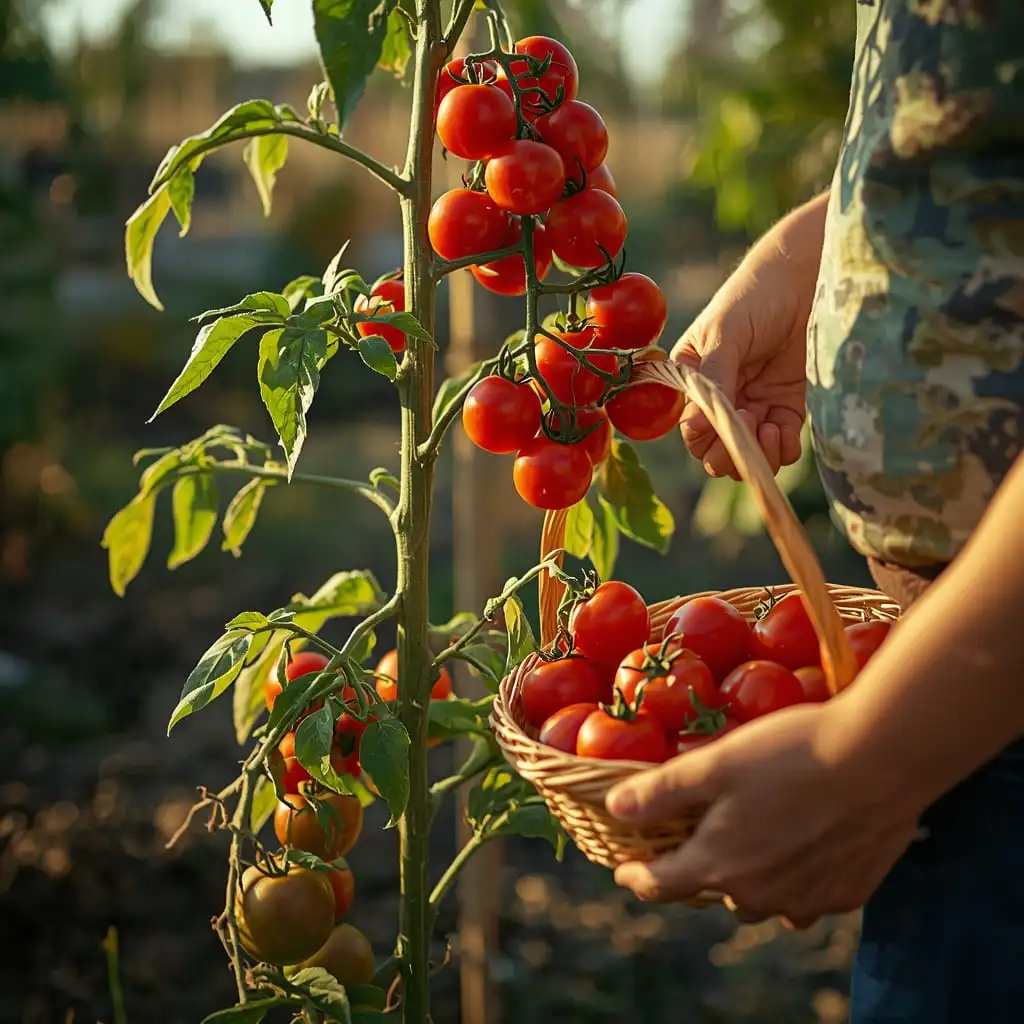
A ripe tomato will be fully colored for its variety — red, yellow, orange, purple, or whatever color it is meant to be. It should feel slightly soft when gently squeezed, similar to a ripe peach. It should come off the vine easily with a gentle twist and pull.
Avoid waiting too long to harvest. Overripe tomatoes split easily, lose flavor, and attract pests. Check your plants every day or two during peak season.
If you need to pick tomatoes slightly early — for example, before a frost — pick them when they have started to change color and let them ripen indoors at room temperature. Never put unripe tomatoes in the refrigerator. Cold temperatures ruin the texture and flavor.
To harvest, hold the tomato in one hand and use the other to snap the stem just above the fruit, or use clean pruning shears for a clean cut.
Storage and Use After Harvest
Proper storage keeps your tomatoes tasting their best for as long as possible.
At room temperature: Freshly picked tomatoes store best at room temperature, away from direct sunlight. They will keep for 5 to 7 days on the counter. Store them stem-side down to slow moisture loss.
In the refrigerator: Only refrigerate fully ripe tomatoes that you will not use within a day or two. Cold temperatures dull the flavor and change the texture, so bring refrigerated tomatoes back to room temperature before eating.
Freezing: Tomatoes freeze very well for use in cooked dishes. Wash, core, and freeze whole on a baking sheet, then transfer to freezer bags. Frozen tomatoes are perfect for soups, sauces, and stews. They keep for up to 6 months in the freezer.
Canning and sauces: A large harvest of determinate tomatoes is perfect for making and canning homemade tomato sauce. Properly canned tomatoes last up to 18 months in a cool, dark pantry.
Sun-drying: Slice tomatoes thin, season lightly with salt, and dry them in the oven at low heat or in a food dehydrator. Sun-dried tomatoes add incredible flavor to pasta, pizza, and salads.
Conclusion
Wrapping up your gardening season with a solid Tomato Planting Guide ensures that your hard work translates into a heavy harvest of sun-ripened, flavorful fruit. When you consistently apply the principles found in this Tomato Planting Guide, you move beyond the typical beginner struggles and start growing with the precision of a professional. Every successful season is a testament to following a Tomato Planting Guide that prioritizes deep root development, consistent moisture, and sturdy structural support.
To complement your Tomato Planting Guide with advanced, non-commercial technical data, I recommend exploring the Washington State University Extension’s Guide to Growing Tomatoes in Home Gardens.
By keeping this Tomato Planting Guide as your primary reference, you can easily avoid the common pitfalls of overwatering and nutrient imbalances that often plague home growers. The beauty of a well-executed Tomato Planting Guide is its versatility, working just as well for massive backyard plots as it does for a single “Patio Choice” plant. Ultimately, the time you invest in reading and applying this Tomato Planting Guide pays off the moment you slice into that first perfectly ripe, homegrown tomato.
Stick to the steps outlined in this Tomato Planting Guide, and you’ll find that tomatoes become the most rewarding part of your edible landscape. Remember, the best Tomato Planting Guide is the one you put into daily practice, so take these tips out to the garden and start prepping your soil today. With the right Tomato Planting Guide in hand, a bountiful and delicious tomato harvest is well within your reach.
Frequently Asked Questions
Tomatoes typically take 60 to 85 days from transplanting to harvest, depending on the variety. Cherry tomatoes tend to be on the faster end, ripening in 60 to 65 days. Larger varieties like beefsteak can take 80 days or more. From seed to harvest, add another 6 to 8 weeks for the indoor seedling stage.
A good rule of thumb is 4 to 6 plants for fresh eating throughout the season. If you also want to make sauce or can tomatoes, plan on 8 to 12 plants or more. Indeterminate varieties will keep producing all season, so fewer plants can go a long way if you choose the right type.
The most common reasons for flowers dropping without setting fruit are temperature extremes (too hot or too cold), lack of pollinators, or inconsistent watering. Tomatoes need temperatures between 65°F and 85°F to set fruit. On very hot days, gently shake the plant to help distribute pollen, since wind and bees may not be as active in extreme heat.
It is best not to. Growing tomatoes in the same location year after year allows soil-borne diseases and pests to build up. Practice crop rotation — move your tomatoes to a different spot each year and wait at least 3 years before planting tomatoes (or other plants in the same family like peppers and potatoes) in the same bed again.
Cherry tomato varieties like Sweet 100 or Sun Gold are excellent for beginners. They grow quickly, produce a huge amount of fruit, are forgiving of inconsistent watering, and are less prone to disease than larger varieties. For a full-sized tomato, Celebrity is a great beginner choice — it is disease-resistant, reliable, and produces well in most climates.